Don't Forget the Workbench!
One of the more humble parts of a vertical farm that gets overlooked is the workbench.
While we haven't talked much about it before, the workbench is an essential part of your greenhouse workflow.
With out the workbench, there is no planting seeds, making repairs, and even the odd lunch break.
The most important activity you'll use your workbench for is planting and replanting.
And to make that process as easy as possible, here's four tips on how to make your greenhouse workbench setup work most efficiently.

1. Make sure your workbench is longer than your towers.
If you're using five foot towers, you want a workbench that's at least 7 feet long - but only if you have plenty of clearance on either side.
Our workbench is around 8 feet long, but extra length will only help. That will give you plenty of room to pull Matrix Media in and out of your ZipGrow tower. (If you don't know what this means, check out this post on planting a ZipGrow Tower.)
2. Install a screw (or nail) to use when pulling a tower.
In order to pull a tower (whether you're planting new seedlings or removing mature plants, you need to have a screw to hook into the hole on the back of the ZipGrow tower.
The screw does not need to be very high from the workbench surface - it only needs to catch the back of the tower.
On our workbench, the screw is positioned about 18 inches from the left edge and 6 - 8 inches from the front edge.

Make sure you've positioned the screw and workbench so you have plenty or room to work!
3. Keep the workbench close to the action.
Our workbench is located right in the center of our greenhouse, close to the towers and seedlings.
It's not necessary to have your workbench in the middle of everything, but you'll want to keep it close to the action.
You'll be taking seedlings, towers, and whatever else back and forth to the workbench frequently, so make it convenient!

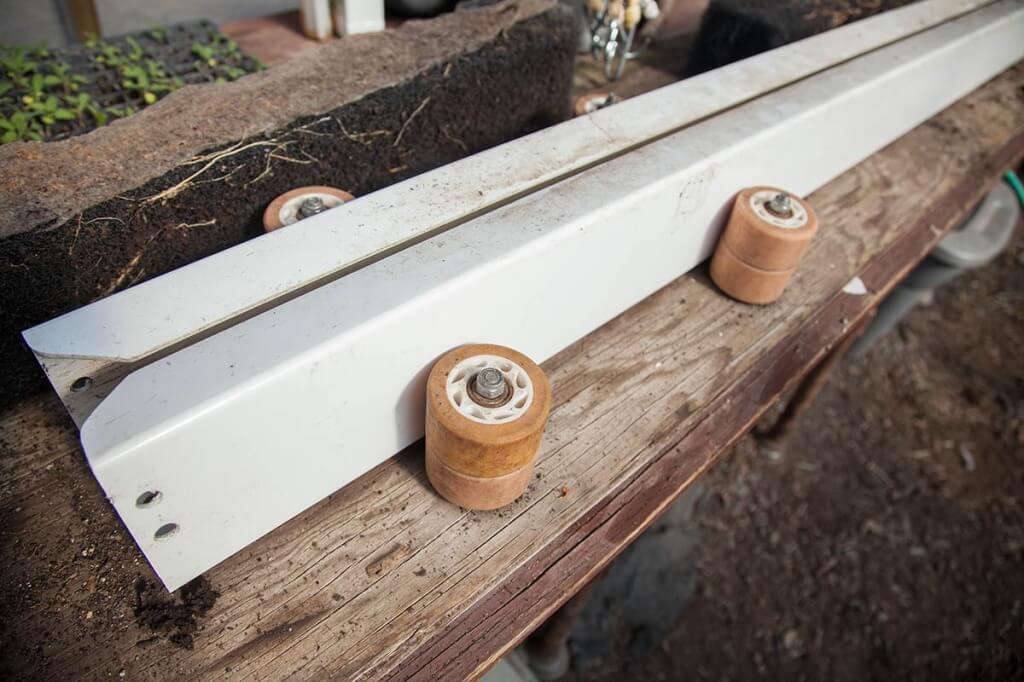
4. Add rollers. (It's optional, but it makes your life easier.)
Adding rollers to the workbench isn't necessary, but it does make your life a lot easier, especially if you're planting alone.
The rollers we use are essentially skateboard wheels. They're bolted into the workbench according to the position of the tower when it's hooked on the screw.
Our workbench has three sets: two along the ZipGrow tower, to hold it in place, and one above the top of the tower, to hold the media in place while planting.
Use a tower as your guide when installing a screw and rollers.
Above all else, make the workbench work for you.
Your workbench doesn't need to be fancy or cost a lot of money.
It needs to work for you.
If cinder blocks and plywood will get the job done as your greenhouse workbench, by all means, use them!
Adding these four features will make it easier for you to keep up with everyday greenhouse maintenance, saving valuable time and making life easier for your labor.
And we love saving time and labor!
